Tired of unreliable, dangerous hot plates that can overheat and damage your precious PCB projects or 3D prints? For the DIY enthusiast, a stable heat source is a game-changer for soldering, component drying, heat-setting inserts, or softening plastics. The solution? Harness the innate safety of PTC heating elements to build your own恒温加热台 (constant-temperature hot plate)!
This project is surprisingly simple, cost-effective, and results in a tool that is inherently safe and perfect for your workshop.
Why PTC is the Perfect Choice for DIY
-
Safety First: A PTC element will never overheat. It self-regulates to its specific Curie temperature (e.g., 240°C), eliminating the risk of fire or burning out if left unattended. This is its biggest advantage over traditional wire heaters.
-
No Complex Electronics Needed: Forget fussing with PID controllers, thermocouples, or feedback loops. The PTC element does all the temperature regulation by itself!
-
Energy Efficient: It only draws significant power while heating up. Once at temperature, power consumption drops dramatically to just maintain heat.
What You'll Need (Materials & Tools)
Materials:
-
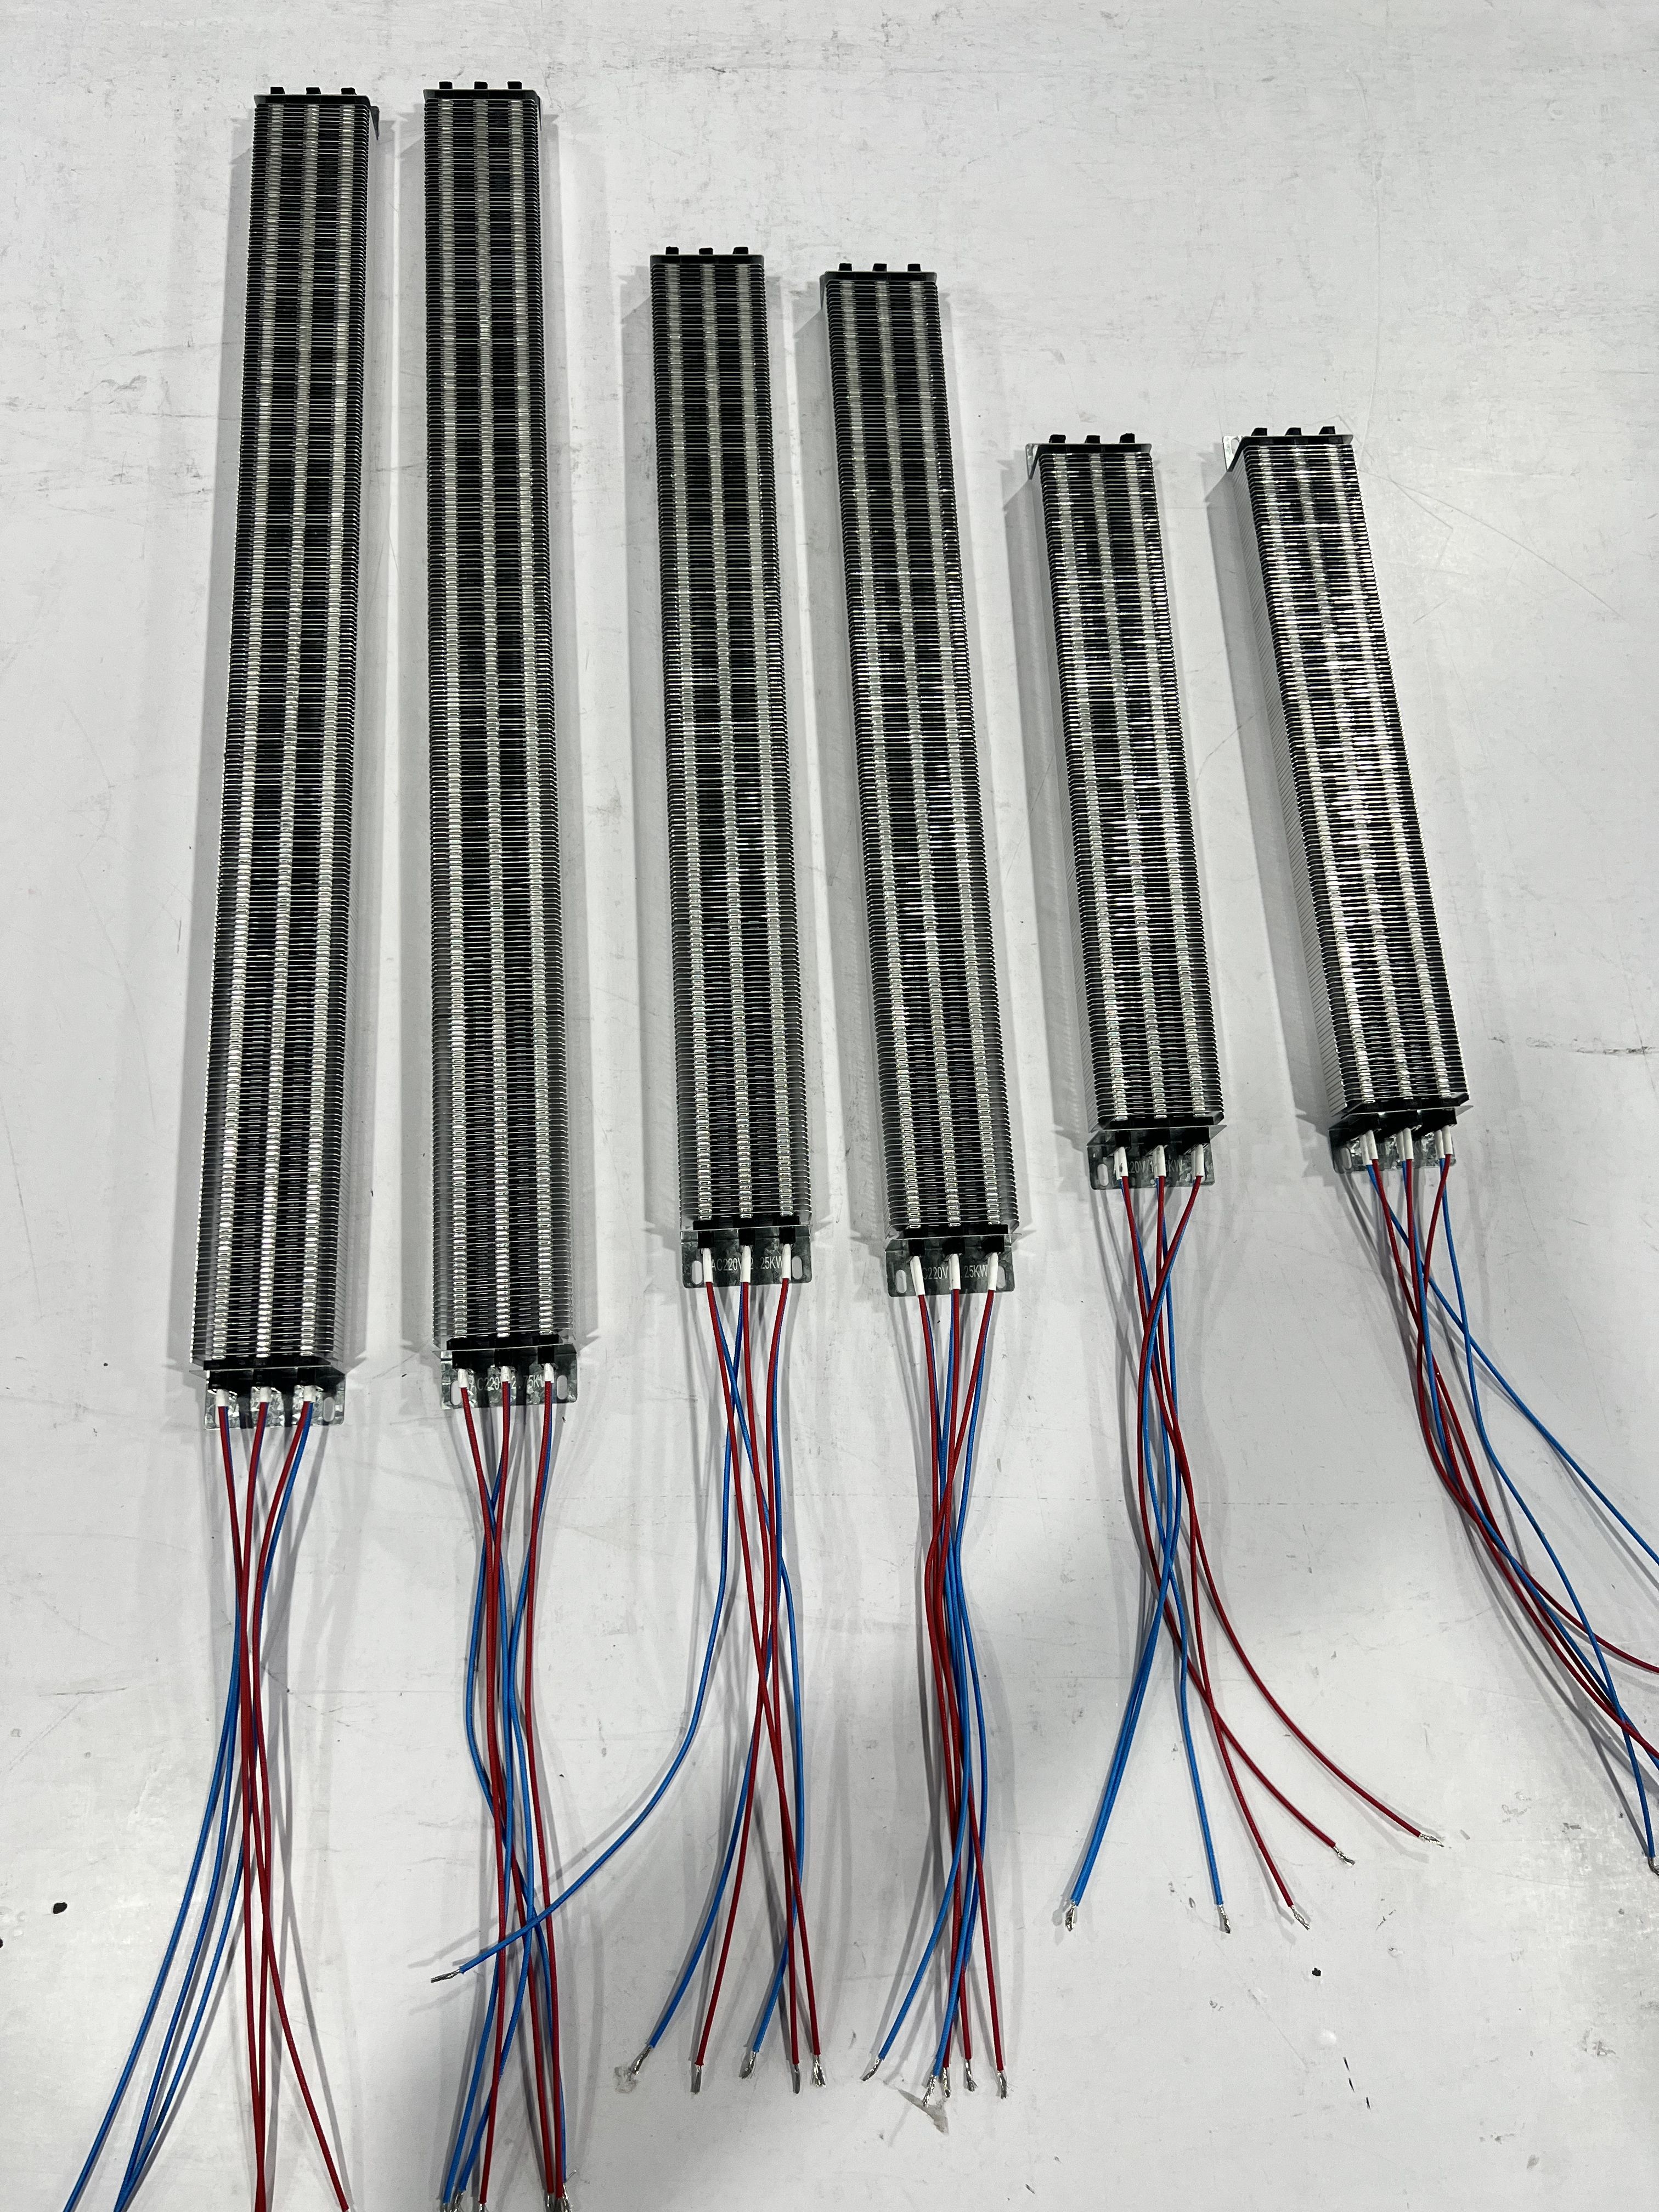
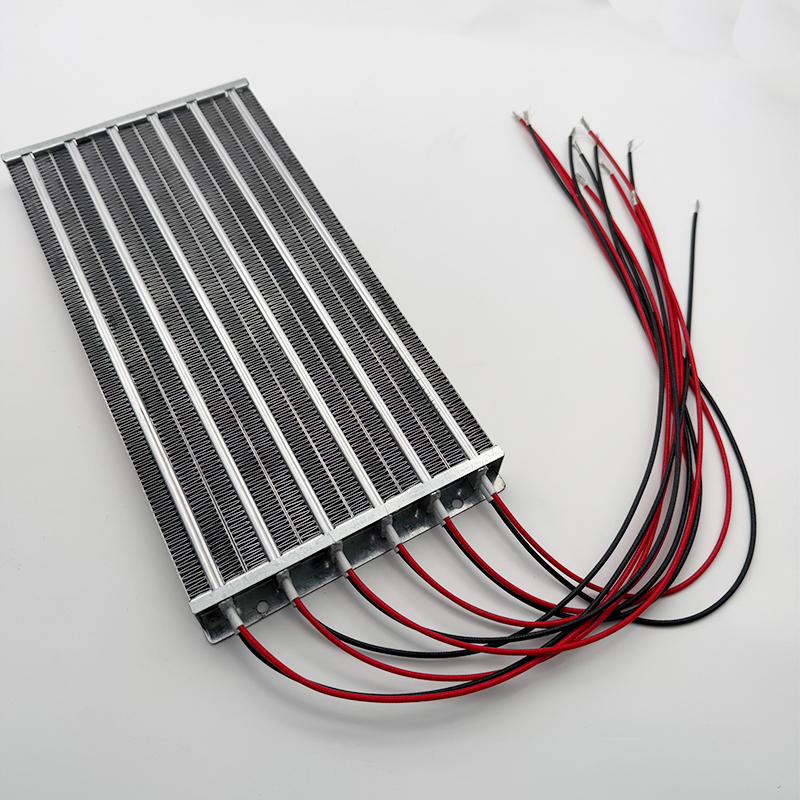
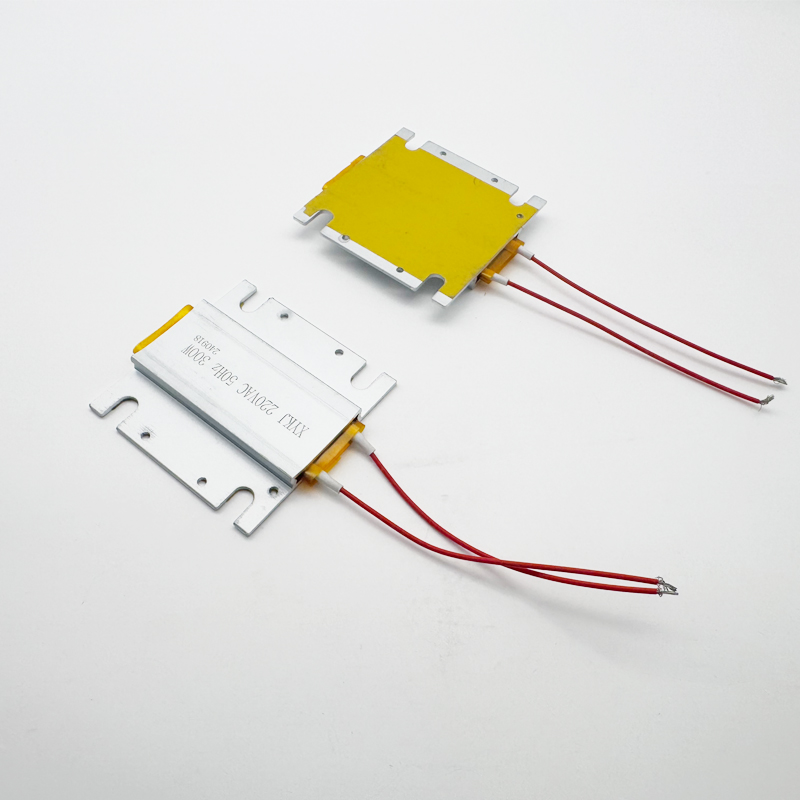
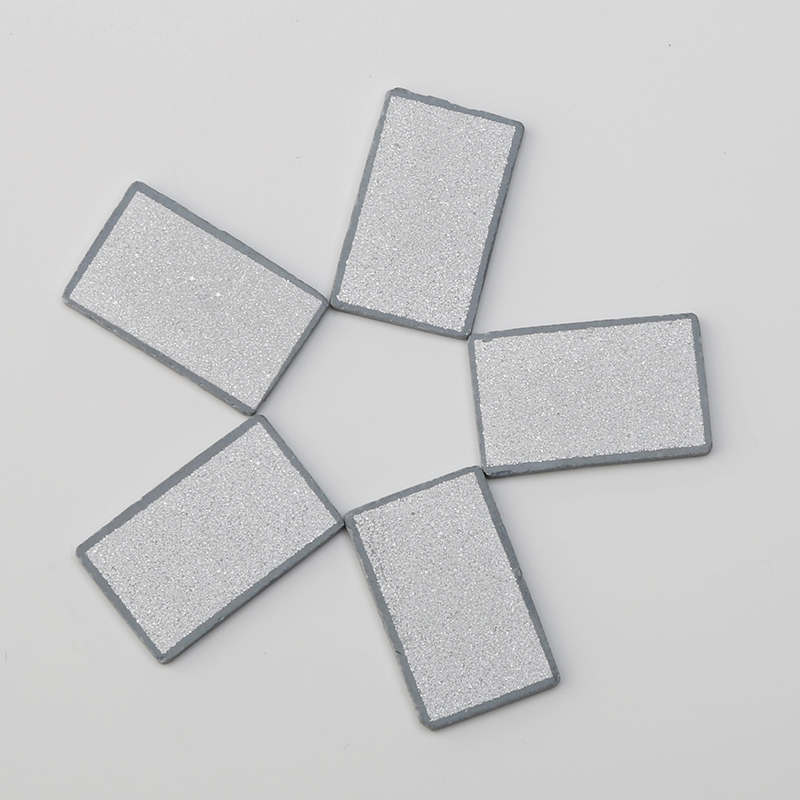
PTC Heating Element(s): The core component. You can find rectangular ceramic PTC elements (e.g., 40x20mm, 240°C) online. Using two in parallel increases your heating area.
-
Aluminum Plate: Acts as the heating surface and heat spreader. Size it to your needs (e.g., 100x100mm, 5-8mm thick).
-
Power Supply (SMPS): Match the voltage to your PTC element(s) (commonly 12V or 24V DC). Ensure it can supply enough current (e.g., 2-5A).
-
Thermal Insulation: A piece of MIC-6 tooling plate is ideal as it has a built-in insulating layer. Alternatively, use a high-temperature cork sheet or ceramic fiber board.
-
Enclosure (Optional): A project box to house the electronics and switch.
-
Wires, Screws, & Terminals: High-temperature wire is recommended. M3 screws work well for assembly.
-
Rocker Switch & DC Power Jack.
Tools:
-
Drill and bits
-
Screwdrivers
-
Wire strippers/cutter
-
Soldering iron (ironically, to build a soldering hot plate!)
-
Thermal paste (optional, for better heat transfer)
Step-by-Step Assembly Guide
1. Prepare the Heating Assembly
-
Attach PTC to Aluminum Plate: This is the most critical step for efficiency. Apply a thin layer of thermal paste to the back of each PTC element. Secure them to the center of the aluminum plate using high-temperature tape or a very thin layer of high-temperature epoxy. Avoid using thick glue, as it will insulate the heat.
-
Insulate the Bottom: Fix your insulating material (cork, MIC-6 plate) underneath the aluminum plate using screws or adhesive. This directs all the heat upward and protects your work surface.
2. Wire the Circuit
The circuit is beautifully simple:
-
Connect the positive wire from your DC power jack to one terminal of your rocker switch.
-
Run a wire from the other switch terminal to the positive (+) leads of your PTC elements (wire them in parallel: positive to positive, negative to negative).
-
Connect the negative wire from the DC power jack directly to the negative (-) leads of the PTC elements.
-
Double-check all connections are secure and insulated!
3. Build the Enclosure (Optional but Recommended)
-
Mount the aluminum heating assembly on top of your project box, ensuring it's stable.
-
Drill holes for the power jack and switch on the side of the box.
-
Secure all components inside. Ensure no wires are touching the aluminum plate.
4. Test and Use!
-
Plug in your power supply and flip the switch.
-
You should feel the plate begin to warm up within a minute.
-
Use a thermometer (or a known solder paste melting point) to verify it reaches and stabilizes at the desired temperature. It will hold this temperature consistently!
Safety Tips & Ideas for Use
-
Always be cautious. The surface will still get very hot and can burn you or melt materials.
-
Use a well-ventilated area if working with plastics or other materials that may emit fumes.
-
Applications: Reflowing solder paste for SMD work, drying wet electronics, removing surface-mount components, heat-set inserts for 3D prints, bending acrylic, and much more!
Building your own PTC hot plate is a rewarding weekend project that delivers a professional-grade, safe tool. Enjoy the satisfaction of using a tool you built yourself, powered by ingenious physics!